How to Remove Background from Image: A Guide for High-Quality Social Media Content
How to Remove Background from Image: A Guide for High-Quality Social Media Content
Why It Is Hard to Remove Background from Image Professionally
The Struggle with Jagged Edges and 'Halo' Effects
I have seen so many creators ruin a great shot because they did not notice the 'halo' effect—that thin, annoying white or colored line left around the subject. If your cutout has this fringe, it looks amateurish the moment you place it on a dark background. Honestly, if you see these jagged edges, your current tool is failing you, and you should not post that image yet.

Loss of Image Quality During Export: Many free online tools secretly crush your resolution to save server space. You might start with a 4K photo and end up with a blurry 600px mess that looks terrible on an Instagram feed. To fix this, always check the export settings and ensure the tool supports high-definition output before you spend time refining the edges.
Common Challenges in Background Removal
Handling Complex Textures Like Hair and Fur
Fine details like flyaway hair or animal fur are the ultimate test for any background remover. Most automated tools just 'shave' the subject, leaving a blocky, unnatural silhouette. If your subject has complex textures, the success rate of a one-click solution is very low. You usually have to go back and manually mask those fine strands to keep the image looking realistic.
Low Contrast Between Subject and Background: If your subject is wearing a dark shirt against a dark wall, most AI will struggle to find where the person ends and the room begins. In these cases, I suggest using a high-contrast source photo. If you are already stuck with a low-contrast image, you will likely need to use a pen tool to manually define the path; otherwise, the AI will inevitably 'eat' parts of your subject.
Effective Methods to Remove Background from Image
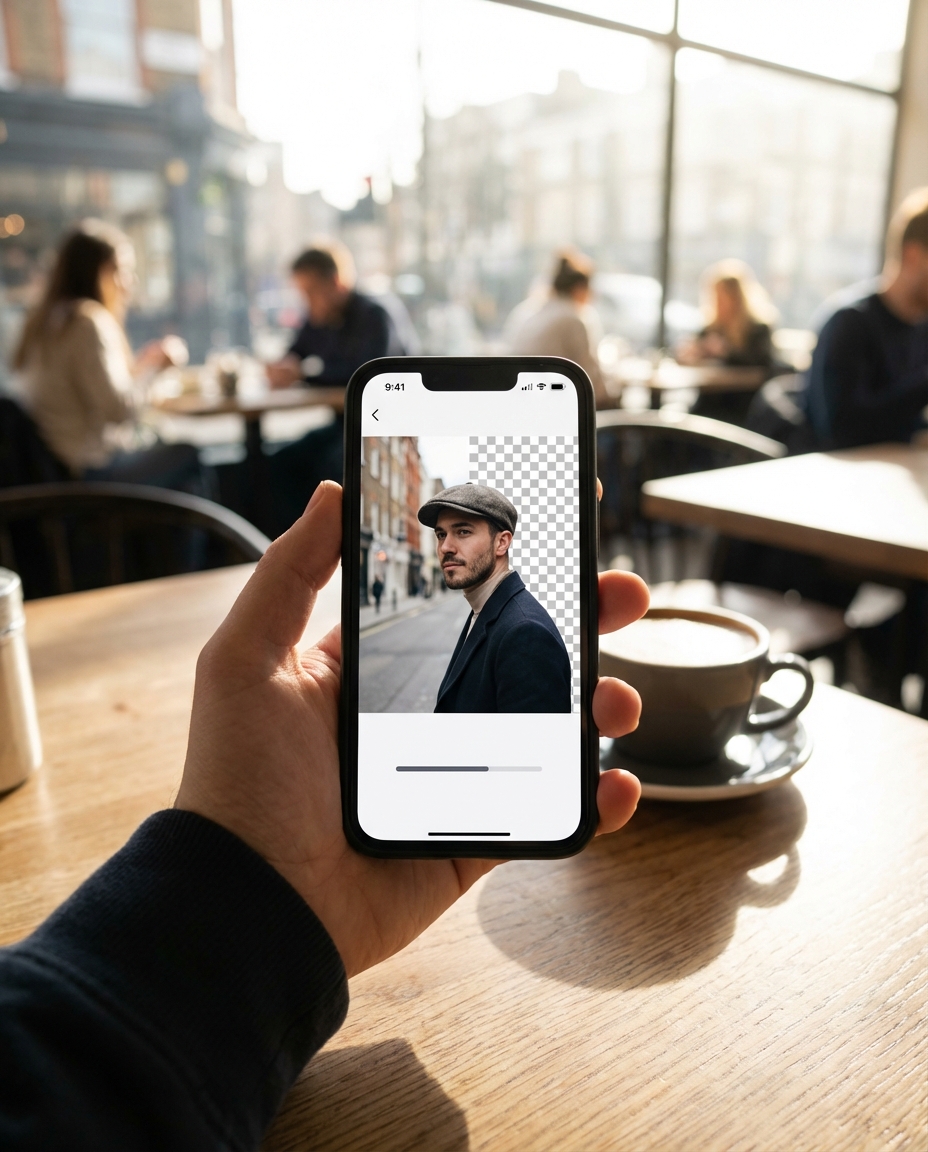
Using Automated AI Background Removers
For most social media graphics, a quick AI-based browser tool is the best way to maintain a fast workflow. These are perfect for clear subjects with distinct edges. However, do not rely on them for high-end commercial work where every pixel counts. If the AI misses a spot, do not just leave it—use the 'restore' brush to fix the mask immediately.
Manual Precision and Batch Processing: For complex layers, software like Photoshop or Canva Pro offers more control over the 'Refine Edge' settings. If you are running an e-commerce store and need to process 50 products at once, look for batch processing features. This ensures consistent branding across your entire feed without the need to upload images one by one, which is where most people waste their afternoon.
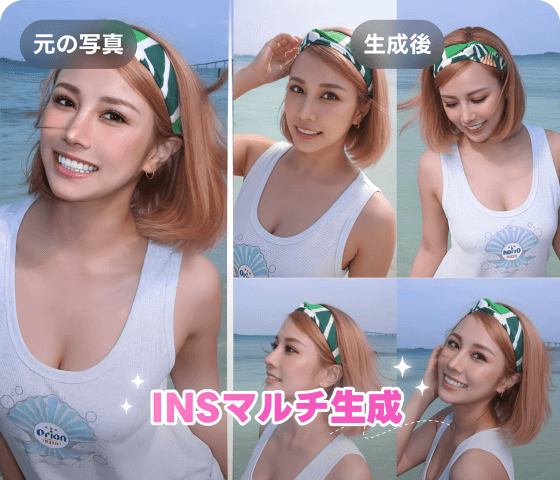
Optimizing Your Cutouts for Social Media Growth
Enhancing Visual Appeal After Background Removal
A clean cutout is only the beginning; if you just slap a transparent subject onto a new background, it will look like a bad collage. To make your content go viral, you must match the lighting and color temperature of the subject to its new environment. Adding a subtle drop shadow can also prevent the 'floating' look that screams 'fake'.
Using AI Enhancement for a Polished Finish: Sometimes the removal process leaves the edges looking a bit soft or pixelated. Using an AI enhancement tool like Koinavi can help sharpen those details and fix lighting inconsistencies once the background is gone. This extra step is what separates a quick post from a premium, professional-grade visual that actually stops the scroll.
Next Steps: Preparing Your Assets for Publication
Choosing the Right File Format (PNG vs. WebP)
Choosing the wrong format is a classic trap. If you save your cutout as a JPG, you will lose the transparency and end up with a solid white box again. For high-quality social media assets, PNG is the safest bet, but if you are worried about loading speeds on a portfolio site, WebP is a much more efficient choice that preserves transparency at a smaller file size.
Testing Your Material Against Different Backgrounds: Before you hit 'publish', test your cutout against both pitch-black and pure-white backgrounds. This is the only way to spot hidden artifacts or missed pixels that were invisible during the editing phase. If it looks clean on both, you are ready to go.
👉 Free online generation 画像生成ページへ移動 KoiNaviをダウンロード